In the midst of my new-to-me-sewing-machine excitement back in January, I decided I should sew capes for all the kids coming to Corbin’s party. I’m not really sure what I was thinking. I knew this was going to be quite the adventure. I found a site that offered up measurements for the cape but a) I didn’t feel like the neck closures left enough space and b) I felt an anxiety bomb go off inside me thinking about measuring the capes. I took the easy route and bought this pattern online. I taped the pattern together and folded packing tape over the edges to help sturdy it up. I used the patterns to make big kid and little kid capes and kind of winged it for the baby capes.
It was way easier for me to cut out the colored sides of the capes, open them up and lay them on the black fabric. I pinned the black and colored pieces together and then used the colored cape as a guide for the black piece. It was more cutting but I was finding that for some reason my colored (outside) and black (inside) cuts weren’t lining up…at all. I’m sure it was because I was moving the pattern ever so slightly while I was cutting. Doing it this way made for a perfect inside/outside match. Also, I got a couple more capes out of the fabric this way.
I finished the capes according to the instructions that came with the pattern. I sewed the capes, leaving about a 4 inch space to turn them right side out. Once turned, I sewed around all the edges again, making sure to carefully close the hole left from turning them. I sewed hook and loop (name brand: Velcro) on to the neck tabs. I bought the cheap stuff at Jo-Ann Fabric, cut rectangles and sewed around the rectangle twice. The kids were taking them on and off throughout the party and it seemed to hold up fabulously. I used felt to make the circles, lightning, and initials and ironed them on using Steam-a-Seam.
This picture was taken right inside our front door. When the kiddos got to the party, they could throw on their cape. To make it easy for parents, I put siblings on the same bar.
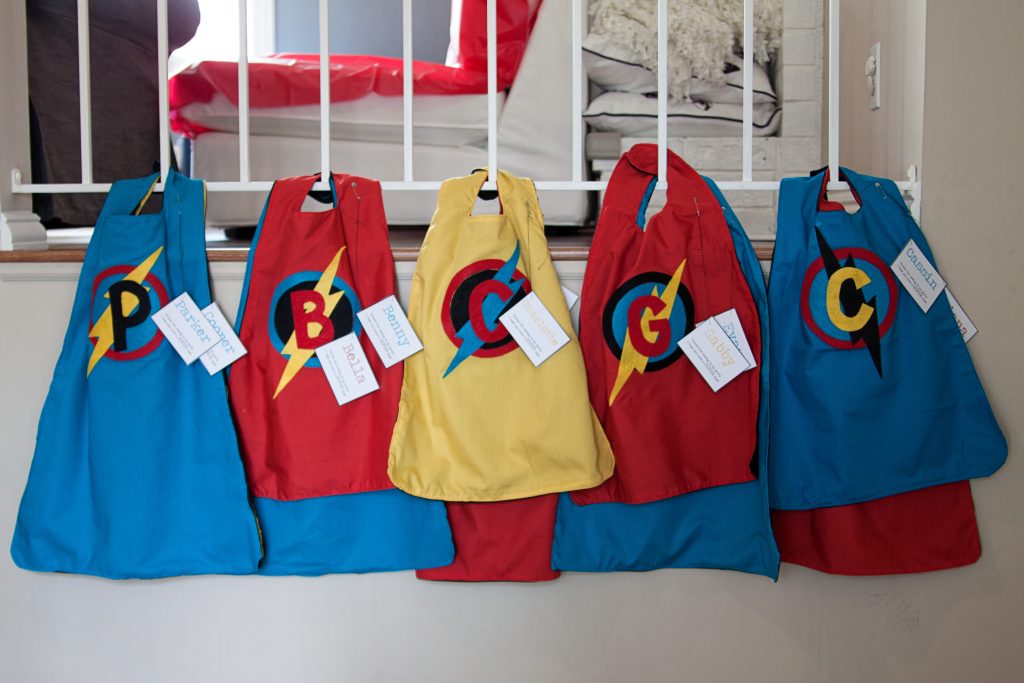
In no way were these perfectly stitched, but they served their purpose well. I’ve been getting text messages today (the day after the party) from moms with pictures of the kids wearing them around town. I’d say the capes were a success!


Sure looks like it was a success! You should be proud of your sewing accomplishments – they came out adorable! Bet the kids had a blast!
Thanks Diane!
How long did it take you to sew those?
The actual sewing was less than 10 minutes/cape. To make the whole thing was about 30 minutes including cutting, sewing, Velcro, and personalization. Thanks for stopping by!
Hi – I love your capes! They look great! I’m planning on the same thing for my son’s first birthday party. Most of the kids will be toddlers. Which type of fabric did you use – satin or cotton? I was thinking about attaching adhesive velcro to the backs of the kids tee’s and capes so we can avoid the neck closure. Thoughts? Thanks so much!